
The Myth of the "One-Size-Fits-All" Chair
There is no single perfect setting for an ergonomic gaming chair. While manufacturers design chairs to be highly adjustable, these features are tools, not automatic solutions. The idea that you can take a chair out of the box, sit in it, and achieve optimal posture is a common misconception. The reality is that your body is unique. Your height, weight, limb proportions, and even your daily habits dictate how a chair should be configured to support you. Without a personalized setup, even the most advanced chair can cause discomfort.
This guide moves beyond generic advice. We will provide tailored adjustment strategies for users of different body types, from tall to short and from slender to heavy. By understanding the principles behind each adjustment and how they relate to your specific physique, you can unlock the full ergonomic potential of your chair. The goal is to move from a chair that you simply sit in to one that actively works with you, promoting musculoskeletal health and sustained comfort during long sessions of work or play.

The Foundation: Achieving Your Neutral Posture
Before we tailor the fit to your body type, we must establish a baseline: the neutral posture. This is the position where your body is under the least amount of musculoskeletal stress. According to the U.S. Occupational Safety and Health Administration (OSHA), a neutral body position involves keeping the joints naturally aligned to reduce stress on muscles, tendons, and the skeletal system. Getting this right is the first and most critical step.
1. Set Your Seat Height: Your feet should be flat on the floor, with your thighs roughly parallel to the ground or sloping slightly downward. Your knees should be at about a 90 to 110-degree angle. A common mistake is setting the seat too low, which can cause hip strain, or too high, which lifts your feet and places pressure on the back of your thighs, restricting blood circulation.
2. Adjust the Seat Depth: Slide the seat pan forward or backward until you have a gap of about two to three fingers' width between the front edge of the seat and the back of your knees (the popliteal crease). If the seat is too deep, it can press against your nerves and blood vessels. If it's too shallow, it fails to provide adequate thigh support.
3. Position the Backrest and Lumbar Support: Your back should be firmly against the backrest. The most critical component here is the lumbar support, which should fit into the natural inward curve of your lower back (specifically, the L3-L4 region of your spine). A frequent error is setting it too high, which can push your spine into an unhealthy flexion. Adjust the height and depth of the lumbar support until it feels like it’s gently holding your natural curve, not forcing it.
4. Align Your Armrests: Adjust the armrests so your elbows are at a 90-degree angle when your shoulders are relaxed. Your forearms should be parallel to the desk surface. Setting them too high causes shoulder shrugging and neck tension, a mistake I often see when people try to match their armrests to a desk that is too high.
For a complete walkthrough of these foundational steps, you may find our Ergonomic Chair Setup Guide to be a helpful resource.
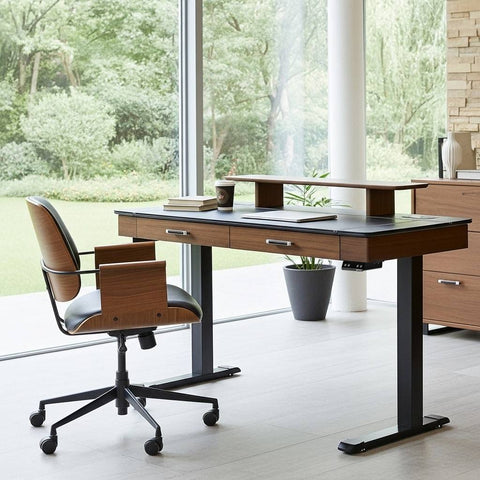
Axion Modern home office setup with a gaming chair, desk, and computer equipment Blue_Fabric
Tailoring the Fit: Adjustments for Different Body Types
Once you have a neutral baseline, you can fine-tune the chair for your specific physique. Body type drastically changes how you interact with a chair, and what works for an average build may be uncomfortable or even harmful for someone taller, shorter, or heavier.
Adjustments for Tall Users (Over 6' or 183 cm)
Tall individuals often struggle with chairs that feel like they were built for a smaller world. Common frustrations include knees bent uncomfortably high, a lack of support for the upper back and neck, and desks that are simply too low.
- Seat Height: Maximize it. Your first adjustment should be to raise the seat to its highest setting to achieve the target 90-110 degree knee angle with your feet flat on the floor. If your knees are still too high, your desk is likely too low, forcing you into a cramped position.
- Headrest Position: A non-adjustable headrest often hits a tall person in the shoulders. A quality chair should have a headrest that adjusts for height and angle. Position the top of the headrest about 2-3 inches (5-7 cm) above the base of your skull (occiput) to properly cradle your head and support your neck, especially when reclining.
- Lumbar Support: Ensure the lumbar support can be raised high enough to fit your lower back's curve. On many chairs, the default position is too low for a taller torso.
- Desk Height: Tall users almost always need a taller desk. An adjustable-height desk is the most effective solution. If that isn’t an option, desk risers can be a cost-effective alternative to elevate your entire workspace.
Customizing for Shorter Users (Under 5'4" or 162 cm)
Shorter individuals face the opposite set of problems: dangling feet, excessive pressure behind the knees from a deep seat, and armrests that are too high or wide even at their lowest settings.
- Seat Height: Lower the chair until your feet are flat on the floor. If you lower the chair to get your feet flat but then find your desk is too high, do not raise the chair back up. The correct solution is to use a footrest to support your feet while keeping your thighs level. This maintains proper alignment without compromising your relationship to the keyboard and monitor.
- Seat Depth: This is a critical adjustment. If your chair lacks a seat depth adjustment feature, a common "gotcha" is the pressure it creates behind the knees. You can add an external back cushion or a specialized seat cushion to reduce the effective depth.
- Armrest Width and Height: Look for armrests that can be adjusted inward as well as down. If the armrests cannot be moved out of the way, it may be better to remove them entirely if they prevent you from getting close enough to your desk.
Setups for Heavier & Slender Body Types
Bodyweight influences how you experience a chair’s support systems, particularly its cushioning and tilt mechanism.
-
For Heavier Users:
- Confirm Weight Capacity: First, ensure the chair is rated for your weight. Standards like ANSI/BIFMA X5.1 test for safety and durability under load, so look for compliance with these standards. The gas lift and base are the most common points of failure on underrated chairs.
- Cushioning: Firmer, high-density foam or a quality mesh will provide better long-term support and prevent "bottoming out."
- Tilt Tension: You will need to tighten the tilt tension knob significantly. The goal is to provide enough resistance so you can comfortably recline with your feet remaining on the floor, rather than feeling like the chair drops away from you.
-
For Slender Users:
- Tilt Tension: You will likely need to loosen the tilt tension almost completely to allow for a smooth recline without having to push off with your feet.
- Contouring: Mesh chairs or those with softer, contoured cushions can be more comfortable, as they distribute pressure more evenly across a smaller frame, preventing pressure points.
Here is a table summarizing the key starting points:
| Body Type | Key Problem | Primary Adjustment | Secondary Solution |
|---|---|---|---|
| Tall | Knees too high; lack of head/neck support | Maximize seat height; raise headrest | Use a height-adjustable desk or risers |
| Short | Feet dangling; seat too deep | Lower seat height; adjust seat depth forward | Use a footrest; add a back cushion |
| Heavier | Lack of support; "bottoming out" | Increase tilt tension; verify weight capacity | Choose chairs with high-density foam or supportive mesh |
| Slender | Difficulty reclining; pressure points | Decrease tilt tension until recline is smooth | Opt for a well-contoured or mesh backrest |
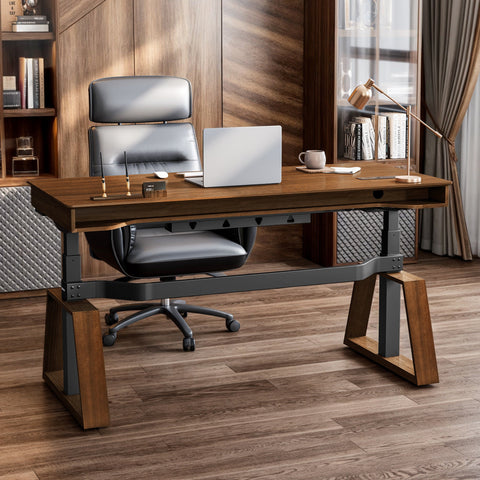
Axion Modern home office setup with a gaming chair, desk, and computer equipment Blue_Fabric
Beyond Static Settings: Dynamic Use and Fine-Tuning
One of the most persistent myths in ergonomics is that you should find one perfect posture and hold it all day. In reality, the human body is not designed for static positions. Prolonged static loading, even in a "perfect" posture, contributes to musculoskeletal discomfort. The key is to think dynamically.
The Myth of the "Set and Forget" Posture
Your best posture is your next posture. Instead of locking your chair into one upright position, you should encourage micro-movements throughout the day. This is a principle backed by extensive research. Health authorities like the World Health Organization emphasize the need to reduce and interrupt long periods of sedentary behavior. An ergonomic chair is a tool that should facilitate this movement.
- Vary Your Recline: Use the recline feature. Shift between a more upright angle (100-110 degrees) for focused tasks and a more reclined angle (up to 135 degrees) for meetings, reading, or thinking. This shifts the load across different muscle groups and spinal discs.
- Embrace Micro-Breaks: The "20-8-2" rule, recommended by experts at Cornell University Ergonomics Web, suggests 20 minutes of sitting, 8 minutes of standing, and 2 minutes of moving and stretching. An ergonomic chair makes the sitting portion comfortable and supportive.
An adjustable chair like the Axion, Ergonomic Hybrid Chair is designed for this dynamic use, with features like an independent lumbar support and a 4D adjustable headrest that adapt as you move and recline.
The Adaptation Timeline
Don’t expect to find the perfect setup in five minutes. Your body needs time to adapt to a new, more supportive posture, especially if you're coming from years of sitting in a poorly configured chair. Allow for an adaptation period of one to two weeks.
Make small, incremental adjustments—a quarter-inch of height, a slight change in tilt tension. Live with it for a day to see how your body responds. What feels right initially might reveal itself as problematic after a few hours. This gradual process allows your neuromuscular system to adjust without causing new strains.
For example, if you are setting up your keyboard height, using an Adjustable Keyboard Tray can allow for subtle negative tilt adjustments that you can refine over several days to find the perfect angle for your wrists.
Key Takeaways
Mastering your ergonomic chair is not about finding a single, rigid "correct" posture. It's about creating a personalized and dynamic support system tailored to your unique body. A truly ergonomic setup is an ongoing conversation between you and your chair.
- Start with the Fundamentals: Always begin by establishing a neutral posture—feet flat, knees at a comfortable angle, and proper seat depth—as your baseline.
- Adjust for Your Body Type: Use the specific guidance for tall, short, heavier, or slender builds to fine-tune the fit. Don't force your body to conform to a generic setting.
- Embrace Dynamic Movement: Reject the "set and forget" myth. Vary your posture, use the recline, and take frequent micro-breaks. Your chair should enable movement, not restrict it.
- Be Patient and Listen to Your Body: Allow for a one-to-two-week adaptation period. Make small, incremental changes and pay attention to what feels right over a full day, not just for a few minutes.
By following these principles, you can transform your chair from a simple piece of furniture into a powerful tool for enhancing well-being and productivity.
Disclaimer: This article is for informational purposes only and does not constitute professional medical advice. The information provided is not a substitute for a professional ergonomic assessment or consultation with a healthcare provider. If you have pre-existing musculoskeletal conditions or experience persistent pain, please consult a qualified physician or physical therapist to address your specific needs.


Leave a comment