
Quick Start: The 3 Golden Rules of Chair Adjustment
If you only have 30 seconds, follow these three steps to immediately reduce spinal strain. For a detailed calibration, see the full checklist below.
- Feet First: Set your seat height so your feet are flat on the floor with knees at a 90° angle.
- The Finger Gap: Ensure a 2–3 finger gap between the seat edge and the back of your knees to maintain circulation.
- The Belt Line: Position your lumbar support to hit your "belt line" (the natural curve of your lower back), not your tailbone.
Why Your Back Pain Worsens in the Afternoon: The Science of Static Load
It is a common phenomenon among remote professionals and gamers: the morning begins with focus and energy, but by 3:00 PM, a dull ache radiates from the lower back, and shoulder tension becomes impossible to ignore. Many assume this is an inevitable byproduct of "sitting too long." However, according to the World Health Organization (WHO) 2020 Guidelines on Physical Activity and Sedentary Behaviour, the risk is not merely the act of sitting, but the accumulation of sedentary time without postural interruption.
When we sit in a poorly adjusted chair, we subject our bodies to static load. Unlike dynamic movement, which encourages blood circulation, static load forces muscles to remain contracted to maintain a position. Over time, this leads to Musculoskeletal Disorders (MSDs).
Technical Note for Users: Prolonged compression of the intervertebral discs reduces nutrient flow, while static muscle contraction restricts oxygen delivery. This creates that "burning" sensation often felt in the trapezius or lumbar region. To combat this, we aim for a neutral spinal position—the posture where the spine maintains its natural "S" curve and joint stress is minimized.
The 2-Minute Ergonomic Chair Adjustment Checklist
Most users never meaningfully adjust their chairs beyond the initial seat height setting. Based on our internal review of over 2,000 home office setups and common patterns identified in customer support feedback, a "set and forget" mentality is the primary barrier to long-term musculoskeletal health.
Aligned with the Canadian Centre for Occupational Health and Safety (CCOHS) guide on office ergonomics, the following checklist uses the Chair-First Heuristic: always adjust your chair relative to your body before adjusting your desk or monitor.
1. Seat Height: The Foundation of Blood Circulation
Adjust your seat height so that your feet are flat on the floor and your knees are at an angle of approximately 90 to 100 degrees.
- The Logic: If the chair is too high, the front edge of the seat puts pressure on the underside of your thighs, which can impede blood circulation. If it is too low, it forces the pelvis to tilt backward, flattening the lumbar curve.
- Verification: You should be able to easily slide your feet back and forth without feeling "trapped."
- Note: For a person of average height (approx. 175cm), this often results in a seat height of ~45–48 cm, but you should prioritize your knee angle over the specific measurement.
2. Seat Depth: Protecting the Popliteal Area
The "2-3 finger rule" is an essential heuristic for seat depth. When sitting with your back firmly against the backrest, there should be a gap of 2 to 3 fingers (approximately 3–5 cm) between the edge of the seat and the back of your knees (the popliteal area).
- The Logic: A seat that is too deep will press against the back of the knees, restricting circulation.
- Expert Insight: For individuals with longer thighs, a larger gap may be necessary to ensure no contact occurs during reclining movements.

3. Lumbar Support: The "Belt Line" Target
The most common mistake in lumbar adjustment is placing the support too low (against the tailbone) or too high (against the mid-back).
- The Heuristic: Aim for the "belt line." When the support hits the natural inward curve of your lower back, it prevents the pelvis from rotating backward—the primary cause of slouching.
4. Armrests: Eliminating Trapezius Strain
Armrests should be adjusted to a height where your shoulders remain completely relaxed.
- The 90-Degree Rule: Your elbows should be bent at roughly 90 degrees, with your forearms resting lightly on the pads. If your shoulders are shrugged, the armrests are too high.
- Quick Check: If you have to lean to one side to reach the armrest, it is too low and will cause spinal misalignment.
5. Backrest Tilt: Encouraging Micro-Movements
Static positioning is the enemy of the spine. Even a "perfect" posture becomes harmful if held for hours.
- The Logic: Use the tilt tension and lock features to allow for periodic reclining. As noted in the ISO 11226 standard, moving between different acceptable postures is superior to staying in one "ideal" position.
Advanced Modeling: The Desk-Chair-Keyboard Relationship
Achieving a neutral posture is a three-way relationship between the chair, the desk, and your input devices. Based on our workstation scenario modeling, we utilize a target height formula as a heuristic to identify the "sweet spot."
Heuristic Model: This formula helps estimate the ideal sitting desk height ($H_{desk,sit}$) based on user-specific parameters.
$$H_{desk,sit} \approx H_{seat} + H_{elbow} - H_{kbd} - \Delta_{wrist}$$
- $H_{seat}$: Seat height from floor.
- $H_{elbow}$: Distance from seat to elbow.
- $H_{kbd}$: Thickness of the keyboard.
- $\Delta_{wrist}$: Necessary clearance for a neutral wrist angle.
Illustrative Scenario: Tall User Modeling
To demonstrate why standard furniture often fails, we modeled a "Tall Competitive Gamer" persona (193cm / 6'4" male, 95th percentile height). These values are illustrative and based on anthropometric averages for this height bracket.
| Parameter | Illustrative Value | Rationale |
|---|---|---|
| User Height | 193 cm | 95th percentile male |
| Example Seat Height | ~51 cm | Based on average popliteal height |
| Example Desk Height | ~80 cm | Calculated for 90° elbow angle |
| Standard Desk Height | ~73 cm | Industry average (29 inches) |
| Ergonomic Deficit | ~7 cm | The gap causing shoulder shrugging |
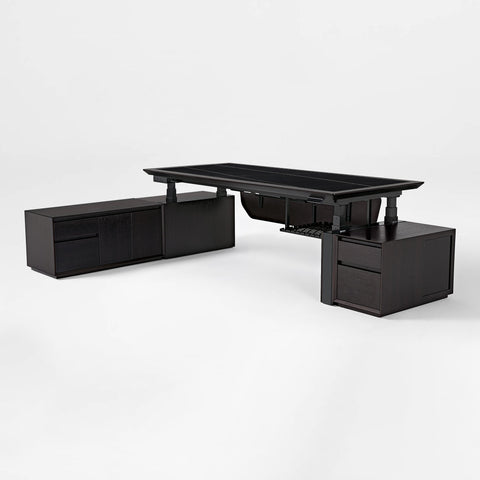
Practical Takeaway: For a tall user, a standard fixed-height desk often forces a choice between ruined leg ergonomics or neck pain. This is why height-adjustable desks are considered an "engineering control" in the OSHA hierarchy of controls.

Selecting the Right Tool: Ergonomic vs. Executive
When selecting a chair, the "6-hour threshold" is a critical metric. According to principles derived from ISO 9241-5, users who sit for more than six hours per day require higher degrees of adjustability—specifically in seat depth and lumbar height.
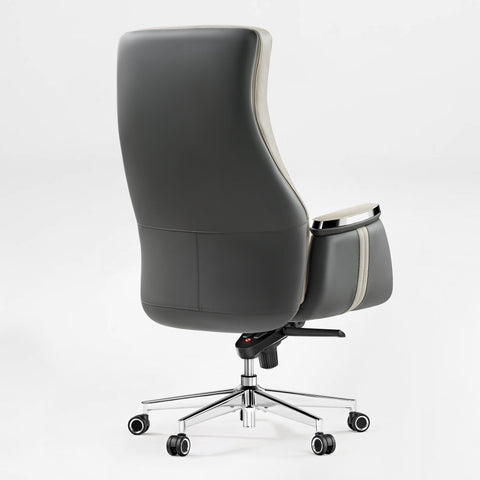
The Flex, Dual-Backrests Ergonomic Office Chair
For those who struggle with lower back pain, the Flex, Dual-Backrests Ergonomic Office Chair responds to the lateral shifts of your torso. This ensures that even when you reach for a mouse or lean slightly, the lumbar support remains consistent.
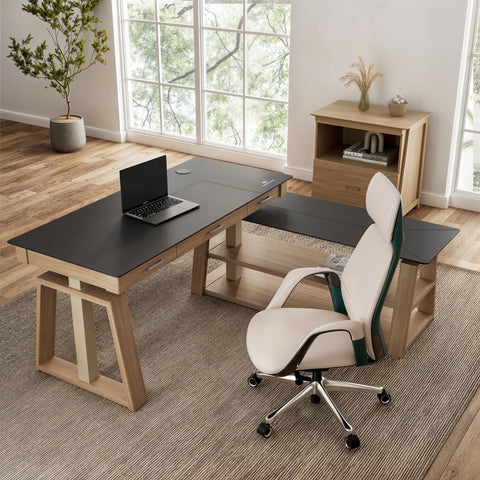
The Lira, Ergonomic Office Chair
The Lira, Ergonomic Office Chair is designed for airflow and modern adjustability. It features a 3D armrest system often recommended for maintaining a consistent eye level with monitors during recline.

The Vera and Onyx Series
For those seeking a professional upgrade, the Vera, Ergonomic Office Chair offers essential lumbar height and depth adjustments. Meanwhile, the Onyx, Ergonomic Office Chair serves as an entry-level professional chair, providing the breathable mesh required for standard 4–6 hour workdays.
Practical Recommendations for the Modern Workday
Adjusting your chair is the first step, but maintaining health requires behavioral consistency. As detailed in The 2026 Workstation White Paper, the convergence of engineering and habit is where true well-being is found.
- The 20-8-2 Rhythm: Adopt the Cornell University recommendation of 20 minutes of sitting, 8 minutes of standing, and 2 minutes of moving/stretching.
- Monitor Height Calibration: Once your chair is set, ensure the top third of your monitor screen is at eye level to prevent neck strain.
- Re-Assessment Frequency: Factors like footwear and fatigue change your posture. We recommend a "quick check" of your checklist every Monday morning.
- The "Shrug Test": Every hour, perform a deliberate shoulder shrug and let them drop. If they drop more than half an inch, your armrests are likely too low or you are subconsciously tensing.
Summary of Ergonomic Principles
| Feature | Ergonomic Goal | Standard to Reference |
|---|---|---|
| Seat Height | Feet flat, 90-100° knees | BIFMA G1-2013 |
| Seat Depth | 2-3 finger gap from knee | ANSI/HFES 100-2007 |
| Lumbar Support | Support the "belt line" curve | OSHA eTools |
| Armrests | Shoulders relaxed, elbows at 90° | ISO 9241-5 |
| Back Tilt | Dynamic movement, reduced pressure | ISO 11226 |
By applying these technical adjustments, you transform your chair into a tool for health. The goal of ergonomics is to make the environment fit the person, not the person fit the environment.
YMYL Disclaimer: This article is for informational purposes only and does not constitute professional medical advice, diagnosis, or treatment. Ergonomic requirements vary significantly based on individual health history. Always seek the advice of a qualified health provider or occupational therapist with any questions regarding a medical condition.
References
- BIFMA G1-2013 Ergonomics Guideline for Furniture
- Canadian Centre for Occupational Health and Safety (CCOHS): Office Ergonomics
- OSHA eTools: Computer Workstations - Neutral Working Postures
- ISO 9241-5:2024 Workstation layout & postural requirements
- World Health Organization (WHO) 2020 Guidelines on Physical Activity & Sedentary Behaviour
- The 2026 Workstation White Paper: Converging Ergonomic Science and Sustainable Engineering


Leave a comment