
You’ve spent a fortune on your rig. The GPU is a monster, the RGB is synced to perfection, and the chair is fit for a king. But look down. That tangled mess of wires, the "rat’s nest," is ruining the entire vibe. It’s more than just an eyesore; it’s a distraction that kills your focus and an insult to your carefully curated battlestation.
I’ve been there. I once had a glorious setup completely undermined by a chaotic web of black cables. It felt sloppy. Every time I glanced down, it was a reminder of the one part of my setup I hadn't conquered. A clean, organized desk isn't just for minimalist influencers; for a gamer, it creates a distraction-free zone where the only thing that matters is the game. The UK's Health and Safety Executive (HSE) even highlights that a well-managed workspace is crucial for safety, eliminating trip hazards and snags.
This guide is your playbook. We’re going to systematically dismantle that cable chaos and build a setup so clean it looks wireless.
Plan Your Cable Route
Before you unplug a single thing, you need a strategy. The biggest mistake I ever made was just diving in with a pack of zip ties. It created a tangled, rigid bundle that was impossible to change. Don’t do that. Grab a notepad and sketch it out.
Inventory Devices and Power Sources
First, list every single thing that needs power or data. Your list might look something like this:
- PC
- Monitors (x2)
- Keyboard
- Mouse
- Speakers
- Headset/DAC
- Stream Deck
- RGB Desk Mat
- Phone Charger
Now, count your power plugs. Do you have enough outlets on your surge protector? Is it mounted in a convenient, hidden spot? This simple count prevents the "oh no" moment when you realize you’re one outlet short.
Map Primary and Secondary Paths
Think of your cable routing like highways and local roads.
- The Highway: This is the main channel where your major cables will run. It’s almost always along the back edge of the desk, leading from your PC to the power strip. Your monitor, power, and primary USB cables will live here.
- Local Roads: These are the smaller paths for your peripherals—keyboard, mouse, and headset cables. The goal is to get them to the main highway as cleanly as possible.
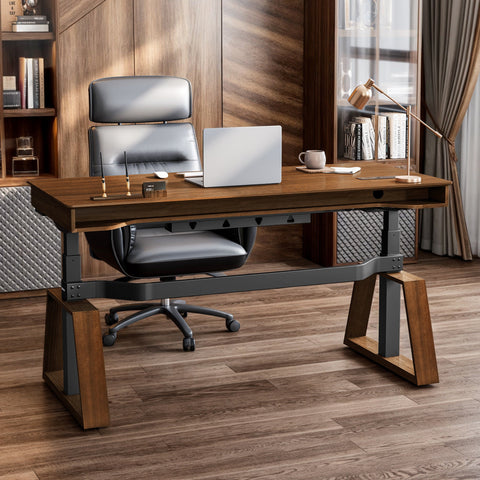
For a desk like the Gaming Desk with Z Shaped Legs (61"x25"), you can use the aggressive angles and wide legs of the Z-frame design as natural channels to guide your main highway down to the floor, keeping it completely out of sight.
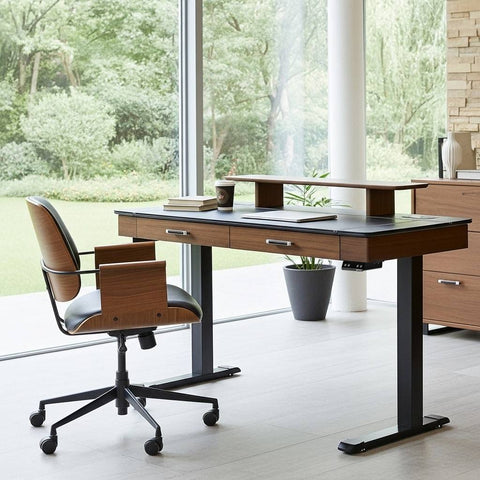
Account for Sit–Stand Movement
If you have a standing desk, this is a critical step. I learned this the hard way when I raised my desk and nearly pulled my entire PC onto the floor because the cables were too tight. When planning your routes, leave enough slack for the desk to move to its highest position without any tension. According to OSHA's workstation guidelines, maintaining clear legroom is an ergonomic necessity, and snagging your feet on taut cables is a major hazard.

Tools and Accessories
You can’t win this battle without the right gear. Modern gaming desks often come with features designed to help, but a few extra accessories will take your setup to the next level.
Desk Grommets and Cable Trays
Many gaming desks come with built-in grommets—plastic-lined holes in the desktop. These are perfect exit points for your keyboard and mouse cables, allowing them to disappear directly under the desk. Under-desk cable trays or nets are the real game-changers. They act as a large basket to hold your main "highway" of cables and bulky power bricks, lifting everything off the floor.
Sleeves, Ties, and Adhesive Clips
- Cable Sleeves: These fabric or neoprene tubes are perfect for bundling your main highway into a single, clean-looking trunk. It’s far more flexible and easier to modify than a bunch of zip ties.
- Velcro Ties: Ditch the plastic zip ties. Velcro is reusable, adjustable, and won’t pinch your cables. Get a roll and cut them to the exact length you need.
- Adhesive Clips: These tiny clips stick to the underside of your desk and are perfect for guiding individual cables along a specific path.
Monitor Arms and CPU Hangers
If there is one accessory I recommend above all others, it’s a monitor arm. A good Dual Monitor Arm instantly cleans up your desktop by getting rid of the bulky monitor stands. More importantly, most arms have built-in cable channels. You can run your display and power cables through the arm itself, making them virtually invisible. For a truly clean floor, a CPU hanger mounts your PC case under the desk, lifting it and all its connected cables off the ground.

Another great tool for creating a clean surface is a Pull-out Keyboard Tray. It keeps your keyboard and mouse wires tucked away and gives you a massive, clear surface when you're not actively gaming.
Step-by-Step Cable Management
Alright, planning is done and you have your tools. It’s time to execute.
Prep: Power Down, Unplug, Label
Turn everything off. Unplug every single cable from both the device and the wall. This is the only way to do it right. As you unplug, use masking tape and a marker to label both ends of each cable (e.g., "Monitor 1 - DP," "PC Power"). Trust me, this saves a massive headache later.
Route, Secure, and Conceal Cables
- Mount Your Power Strip: The first step is to mount your surge protector. The best spot is usually on the underside of your desk toward the back or inside a dedicated cable tray.
- Run the Main Highway: Start with your biggest cables. Bundle your PC power, monitor cables, and main USB hub cable together. Run them along your planned highway and place them in the cable tray or sleeve, but don’t tighten anything yet.
- Connect Peripherals: Route your keyboard, mouse, and other device cables through grommets or along the back edge. Guide them to the main bundle and secure them loosely.
- Tighten and Tidy: Once everything is routed, go back and tighten your Velcro ties. Tuck any excess cable length into the tray. Use adhesive clips to tack down any stray wires. The goal is to have nothing dangling or visible from a normal sitting position.
Test Ergonomics and Movement
Before you power up, test everything. If you have a standing desk, raise it to its highest and lowest settings. Watch the cables carefully. Is there any pulling, snagging, or pinching? Adjust as needed. Sit in your chair. Are any cables touching your feet or legs? A clean setup is part of a good ergonomic environment. As noted by OSHA's guidance on workstation environments, a comfortable and distraction-free physical space is key to productivity and well-being.
Maintenance and Troubleshooting
A clean setup requires a little upkeep. Every few months, check for dust buildup and ensure all connections are still secure. When you add a new piece of gear, resist the temptation to just run its cable haphazardly. Take the extra five minutes to integrate it properly into your existing management system.
Dealing with Power Bricks
Bulky power adapters are the worst. They don’t fit in trays and they look awful hanging in the open. The best solution is to use heavy-duty double-sided tape or Velcro strips to mount them to the underside of your desk, keeping them secure and out of sight.
Wrapping Up
Cable management isn’t just about making your desk look good for an Instagram photo. It’s about creating a focused, efficient, and professional-grade gaming environment that honors the investment you’ve made in your hardware. It transforms your setup from a chaotic mess into a streamlined command center.
By planning your routes, using the right tools, and following a systematic approach, you can achieve a "wireless" look that is both functional and impressive. That feeling of satisfaction when you look at your perfectly organized battlestation? It’s a game-changer.
Frequently Asked Questions (FAQ)
How much slack should I leave for a standing desk?
A good rule of thumb is to raise your desk to its absolute highest position and then add another 6-8 inches of slack to your cable bundle. This ensures there is zero tension on the cables or ports.
How can I hide really bulky power adapters?
Wide cable trays or nets are your best bet. If that’s not an option, use strong, double-sided adhesive tape to stick the power brick to the underside of your desk or the back of a desk leg. This keeps it secure and hidden.
What's the best way to route cables for a multi-monitor setup?
Bundle the display and power cables for all monitors together into a single sleeve. A dual monitor arm is the ultimate solution here, as it provides built-in channels that guide all the wires down to one central point.


Leave a comment