
Quick Reference: Ergonomic Height Estimates
If you are looking for a starting point, use the table below. Note that these are practical heuristics based on general anthropometric data; individual proportions (like long legs or a short torso) will vary. Use these as a baseline before fine-tuning with the measurement steps below.
| Your Height | Est. Popliteal Height | Rec. Seat Height (with shoes) | Rec. Desk Height (Seated) |
|---|---|---|---|
| 5'0" (152 cm) | 14.0" – 14.5" | 15" – 16" | 22" – 23" |
| 5'2" (157 cm) | 14.5" – 15.5" | 16" – 17" | 23" – 24.5" |
| 5'4" (163 cm) | 15.5" – 16.5" | 17" – 18" | 24.5" – 26" |
Core Formulas:
- Ideal Seat Height = Popliteal Height (floor to back of knee) + 1–2 inches.
- Ideal Desk Height = Seated Elbow Height (floor to underside of elbow).
Why Ergonomics is Critical for Petite Users
When a workstation isn't scaled to your body, you're forced to make unhealthy compensations. You might perch on the edge of your seat because it’s too deep, causing pressure on your thighs and restricting blood flow. Or maybe you raise your arms to reach a keyboard on a high desk, leading to shoulder and neck fatigue.
Based on patterns we see in ergonomic assessments, these issues are more than just daily annoyances; they are significant risk factors for long-term discomfort. According to EU-OSHA, the European Agency for Safety and Health at Work, prolonged static postures are a significant contributor to pathophysiological mechanisms of musculoskeletal disorders. When your body is held in an unnatural position, it puts a static load on your muscles and tendons, which can lead to inflammation and pain. The goal is to achieve a neutral body position, which helps minimize this strain.
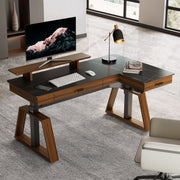
The Correct Order: Chair First, Then Desk
A common mistake is adjusting the desk height first, which often forces the user into an awkward posture to accommodate the chair. In our experience, the most successful setups follow a "bottom-up" approach. Always start with your chair and feet. Your seated position is the foundation for your entire workstation. Only after you’ve established a proper seated posture should you bring the desk surface to your level.
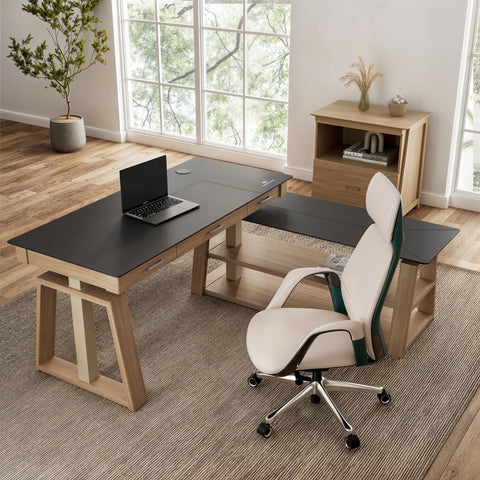
Step 1: Calculate Your Ideal Chair Height
Your ideal seat height allows your feet to rest flat on the floor (or a footrest) while your knees are bent at approximately a 90-degree angle. This position stabilizes your pelvis and supports the natural curve of your lower back.
How to Find Your Seat Height:
- Sit on a firm chair or bench where your feet can be flat on the floor.
- Measure the distance from the floor to the back of your knee (this is your popliteal height).
- Add one to two inches for shoe allowance.
Calculated Seat Height = Popliteal Height + 1-2 inches (for shoes)
Adjust your chair so the seat pan is at this height. According to OSHA, the chair should allow you to easily place your feet flat on the floor.
Example Case: Sarah (5'0") Sarah measures her popliteal height at 14 inches. Adding 1 inch for her office shoes, her ideal seat height is 15 inches. Since most standard office chairs only go down to 17 inches, Sarah uses a firm footrest to bridge the 2-inch gap, ensuring her thighs remain parallel to the floor.

Step 2: Determine Your Ideal Desk Height
Once your chair is set, it’s time to adjust the desk. The goal is to keep your arms in a relaxed, neutral position.
How to Find Your Desk Height:
- Sit correctly in your chair with your feet flat and your back supported.
- Let your upper arms hang relaxed at your sides.
- Bend your elbows to roughly a 90-degree angle, keeping your wrists straight.
- Measure the distance from the floor to the bottom of your elbow.
Calculated Desk Height = Seated Elbow Height
Your desk surface (including your keyboard) should be at or slightly below your elbow height. This allows your shoulders to remain relaxed. For standing, the same principle applies: adjust the desk until your elbows are at a 90-degree angle while your shoulders are relaxed.
Example Case: James (5'4") James sits in his adjusted chair and finds his elbow height is 25 inches from the floor. His current fixed-height desk is 29 inches. To fix this without buying a new desk, James installs an under-desk keyboard tray that drops the typing surface by 4 inches, bringing his gear to the correct ergonomic level.
Step 3: Fine-Tune Your Workstation
With your chair and desk at the right heights, the final step is to position your monitor and accessories.
Monitor Height and Distance
In my own experience as a product specialist, I found that persistent neck strain by 3 PM was rarely about the chair—it was often a monitor positioned just two inches too low.
- Height: Position your monitor so that your eye level is aligned with the top third of the screen. You should be able to look at the center of the screen with a slight downward gaze of 15–20 degrees.
- Distance: Place the monitor about an arm's length away. You shouldn't have to lean forward or squint to see the text.
If your monitor isn’t adjustable, a monitor arm is a highly effective solution. It provides the flexibility to position the screen perfectly, which is especially important when switching between sitting and standing.

Sit-to-Stand Rhythm
Standing is not a replacement for movement, but it helps combat a sedentary lifestyle. A common guideline, recommended by researchers at Cornell University's Ergonomics Web, is the "20-8-2" rule: for every 30 minutes, sit for 20, stand for 8, and move or stretch for 2. This encourages regular posture changes, which can improve circulation and reduce static muscle load.
When to Seek Professional Advice
While these guidelines work for most users, certain situations require a more tailored approach. You should consult an occupational therapist, physical therapist, or professional ergonomist if:
- You experience persistent or worsening pain, numbness, or tingling in your back, neck, or wrists.
- You have a diagnosed spinal condition (e.g., scoliosis, herniated discs).
- You are recovering from a recent musculoskeletal injury or surgery.
- You have unique physical proportions that standard "rules of thumb" cannot accommodate.
Quick Setup Checklist
Use this list to verify your setup:
- Feet: Are they flat on the floor or a stable footrest?
- Knees: Are they at roughly a 90-degree angle, with 2–3 inches of space between the back of your knees and the seat edge?
- Back: Is your lower back supported by the chair's lumbar curve?
- Elbows: Are they bent at ~90 degrees and kept close to your body?
- Shoulders: Are they relaxed and not hunched toward your ears?
- Wrists: Are they straight (neutral) when typing?
- Eyes: Is your gaze directed slightly downward toward the center of your monitor?
Frequently Asked Questions (FAQ)
What if my desk won’t lower enough?
This is a common issue for petite users since standard desks are 29–30 inches high. The best ergonomic solution, recommended by the CCOHS, is to install an adjustable keyboard tray. This lowers your input devices to the correct elbow height while keeping your monitor at eye level.
Can I just use a cushion to sit higher?
While a firm cushion can provide a temporary height boost, it may reduce the effectiveness of your chair's lumbar support and can be unstable. A dedicated ergonomic chair with a lower height range or a high-quality footrest are generally more reliable long-term solutions.
Key Takeaways
Building an ergonomic workstation is not about finding a single "perfect" product; it's about creating a system that fits your unique body dimensions. For petite users, this means prioritizing a chair with a low seat height, a desk with a wide adjustment range, and essential accessories like footrests to bridge any gaps. Stop adapting your body to your furniture and start making your furniture work for you.
This article is for informational purposes only and does not constitute professional medical advice. Consult with a healthcare professional for any specific health concerns.


Leave a comment