
Beyond the Bulb: Crafting Your Story with Light
Imagine a workspace that shifts with your creative energy. One moment, it’s bathed in a calm, focused blue for deep work. The next, it pulses with vibrant colors, celebrating a project milestone live on stream. This isn’t just about decoration; it’s about creating a responsive environment that fuels your inspiration. RGB lighting is a powerful tool for defining your creator studio’s aesthetic, transforming it from a simple room into a true Workspace Sanctuary.
Good lighting does more than just illuminate your face on camera. It sets the mood, reinforces your brand, and creates an ambiance that can make the difference between a frustrating session and a flow state. We’ll explore how to use both integrated and accessory lighting to build a workspace that is an extension of your creative personality.
The Two Sides of Studio Lighting: Integrated vs. Accessory
When building your lighting setup, you’ll encounter two main types:
- Integrated Lighting: This refers to lights built directly into your furniture, most commonly your desk. It creates a clean, seamless look, as the lighting is part of the core structure. It’s an excellent foundation, providing a wash of color that defines the entire workspace.
- Accessory Lighting: These are standalone lights you add to your space. Think wall panels, light bars, and flexible LED strips. Accessories are for painting with light—adding accents, creating gradients, and building layers of depth for a truly custom look.
A great setup often uses both. The integrated lights establish the base mood, while accessories add the highlights and personality.
Planning Your Luminous Ecosystem
Before you buy a single light, take a step back and strategize. A little planning prevents the common pitfall of having a collection of lights that don’t work together, creating a chaotic feel rather than a cohesive aesthetic.
Assess Your Space and Surfaces
Consider your room’s layout. The color of your walls and the texture of your desk surface will dramatically affect how light is reflected. Lighter, matte surfaces create a soft, diffused glow, while darker or glossy surfaces produce sharper, more dramatic reflections. I once made the mistake of placing high-gloss panels behind my monitors, which created a distracting glare in my peripheral vision during long editing sessions. Moving them to a side wall transformed them from a nuisance into a beautiful accent.
The Three Layers of Light
Think of your lighting in three layers to build depth:
- Ambient Light: This is the general illumination of the room. It’s your primary light wash, often coming from integrated desk lighting or wall-mounted panels.
- Task Light: This is functional light focused on what you’re doing. While not always RGB, a good key light for filming or a desk lamp for reading is crucial. Proper task lighting prevents the eye strain that can come from working in a dim room illuminated only by your monitor.
- Accent Light: This is where you can get really creative. Use accent lights to highlight specific objects, create a colored backdrop, or add a splash of personality. This could be a strip of LEDs under a shelf or a single colored spot on a plant in the background.
The Desk as Your Command Center
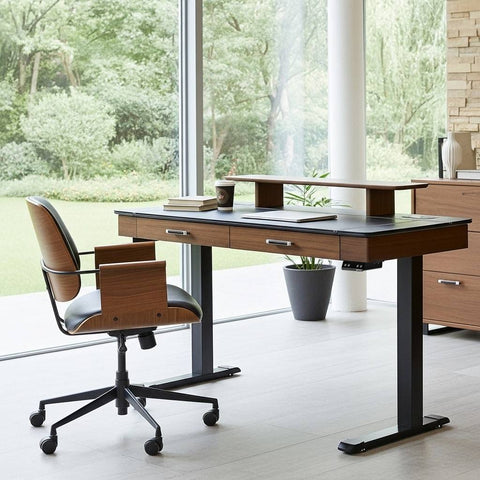
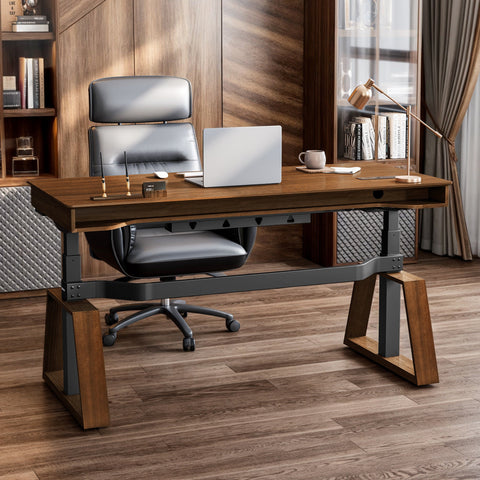
The desk is the heart of any creator studio, and it’s the perfect foundation for your lighting scheme. Choosing a desk designed with lighting in mind provides a clean, powerful starting point.
Desks with integrated RGB lighting offer a seamless way to introduce color. For creators, a large, uniquely shaped desk can also help organize your workflow into distinct zones. For example, a wing-shaped desk provides ample room for multiple monitors, audio interfaces, and peripherals, all while keeping everything within easy reach. The wraparound design of a desk like the Aero Pro Wing-Shaped Standing Desk (72"x23") is a perfect example of this, offering an expansive surface that serves as a canvas for both your gear and your lighting.

Furthermore, using a standing desk encourages you to vary your posture, which is critical for well-being during long creative sessions. The World Health Organization's guidelines emphasize the importance of reducing sedentary time. An inspiring, well-lit workspace that you love being in makes it easier to stay active and energized, whether you’re sitting or standing.
Amplifying Your Aesthetic with Accessories
With your desk providing the foundation, accessories are how you bring the entire room to life. They allow you to paint the walls with light and create a truly immersive environment.
Modular wall panels are a fantastic way to build a custom art piece that doubles as a light source. You can arrange them in any pattern and program them with dynamic effects that react to music or game audio. Products like the Lucet Art Lighting panels are designed for this, offering a clean, modern look that disperses light evenly without creating harsh hot spots.

A pro tip for a more subtle effect is to use lighting to create a "wall wash" or "backlight" behind your monitors. According to OSHA's guidelines for monitor-centric workstations, your monitor should be placed at a comfortable viewing distance and height to avoid neck strain. Placing light panels or LED strips behind the monitor reduces the high contrast between a bright screen and a dark wall, which can help minimize eye fatigue during extended use.
Getting Camera-Ready: Lighting for the Lens
For streamers and video creators, your lighting isn't just for you—it's for your audience. How you light yourself and your environment directly impacts your production quality.
One of the biggest challenges is achieving a look that is both dynamic and flattering. A common "gotcha" is letting your vibrant RGB background interfere with your skin tone on camera. Your key light (the main light on your face) should be white and positioned correctly to create a pleasant look. Use RGB as a background and fill light. This creates separation and depth, making you pop from the background.
Another technical issue to watch for is flicker. Some lower-quality LED lights can create a visible flicker or banding on camera, especially when dimmed. The key is to use high-quality, flicker-free lights and to ensure your camera’s shutter speed is set correctly to avoid this issue. Always do a test recording before going live!
Finally, remember that your entire workstation contributes to your on-camera look. A well-organized setup is critical. As noted in the UK's official HSE guide for display screen equipment, a tidy and well-arranged workspace is a key component of a safe and effective environment. This is doubly true when that workspace is also your broadcast set.
Key Takeaways
Building a beautifully lit creator studio is a creative project in itself. It’s about more than just stringing up some colored lights; it’s about designing an inspiring, functional, and personal space.
- Start with a Plan: Assess your space and decide on a cohesive aesthetic before you start buying gear.
- Build in Layers: Combine ambient, task, and accent lighting to create a sense of depth and professionalism.
- Use Your Desk as a Foundation: Choose a desk with integrated lighting and a functional shape to serve as the centerpiece of your studio.
- Accessorize with Purpose: Use wall panels and strips to paint your room with light and reduce eye strain.
- Prioritize On-Camera Quality: Separate your subject lighting from your background lighting and use high-quality sources to avoid technical glitches.
Your workspace sanctuary is waiting. By thoughtfully combining form and function, you can create a studio that not only looks amazing on camera but also inspires you to do your best work every single day.
Frequently Asked Questions (FAQ)
Will a lot of RGB lighting affect my video quality or cause color issues?
It can if not managed properly. The key is separation. Use a strong, white key light for your face and let the RGB lighting illuminate your background. This ensures your skin tones look natural while still getting the benefit of a dynamic, colorful set. Always check your camera’s white balance to ensure it’s not being thrown off by the colored lights.
Is a full RGB setup distracting when I'm trying to do focused work like writing or editing?
It doesn't have to be. This is the beauty of a controllable system. You can create different lighting profiles or scenes for different tasks. For example, you can set a static, calm color like a soft white or cool blue for deep work, and switch to a more dynamic, multi-colored scene for streaming or brainstorming. The goal is to make the light work for you.
How can I sync all my lights from different brands to work together?
This has historically been a major frustration. Many brands use their own proprietary software. However, some open-source platforms are emerging that can control multiple brands at once. When buying new lights, look for products that support these universal standards or that are known to have robust and flexible control software.


Leave a comment